


I recently needed to add Mapbox to a Phoenix project and it took a few attempts to get a clean result without modifying too much of the Phoenix project structure. So, this article documents the process for anyone else that needs to do this.
Project Setup
The project I used was set up without Ecto, but these instructions should apply to any Phoenix project created with Phoenix 1.7 or later. We rely on the default Phoenix esbuild configuration (used in 1.7 onwards) to bundle the Javascript.
If you're starting from scratch, you can create a new project as follows:
mix phx.new --no-ecto my_project
Adding NPM Package
# In your project folder
cd assets
npm install --save mapbox-gl
Displaying a Map
We'll create a separate JS file to be loaded on the page where we want our map instead of putting Mapbox code in app.js. For example, you could create assets/js/map.js :
// assets/js/map.js
import mapboxgl from 'mapbox-gl';
// esbuild will create a CSS bundle we can include in the page
import "mapbox-gl/dist/mapbox-gl.css"
mapboxgl.accessToken = 'YOUR_ACCESS_TOKEN_HERE';
const map = new mapboxgl.Map({
container: 'map', // container ID
style: 'mapbox://styles/mapbox/streets-v12', // style URL
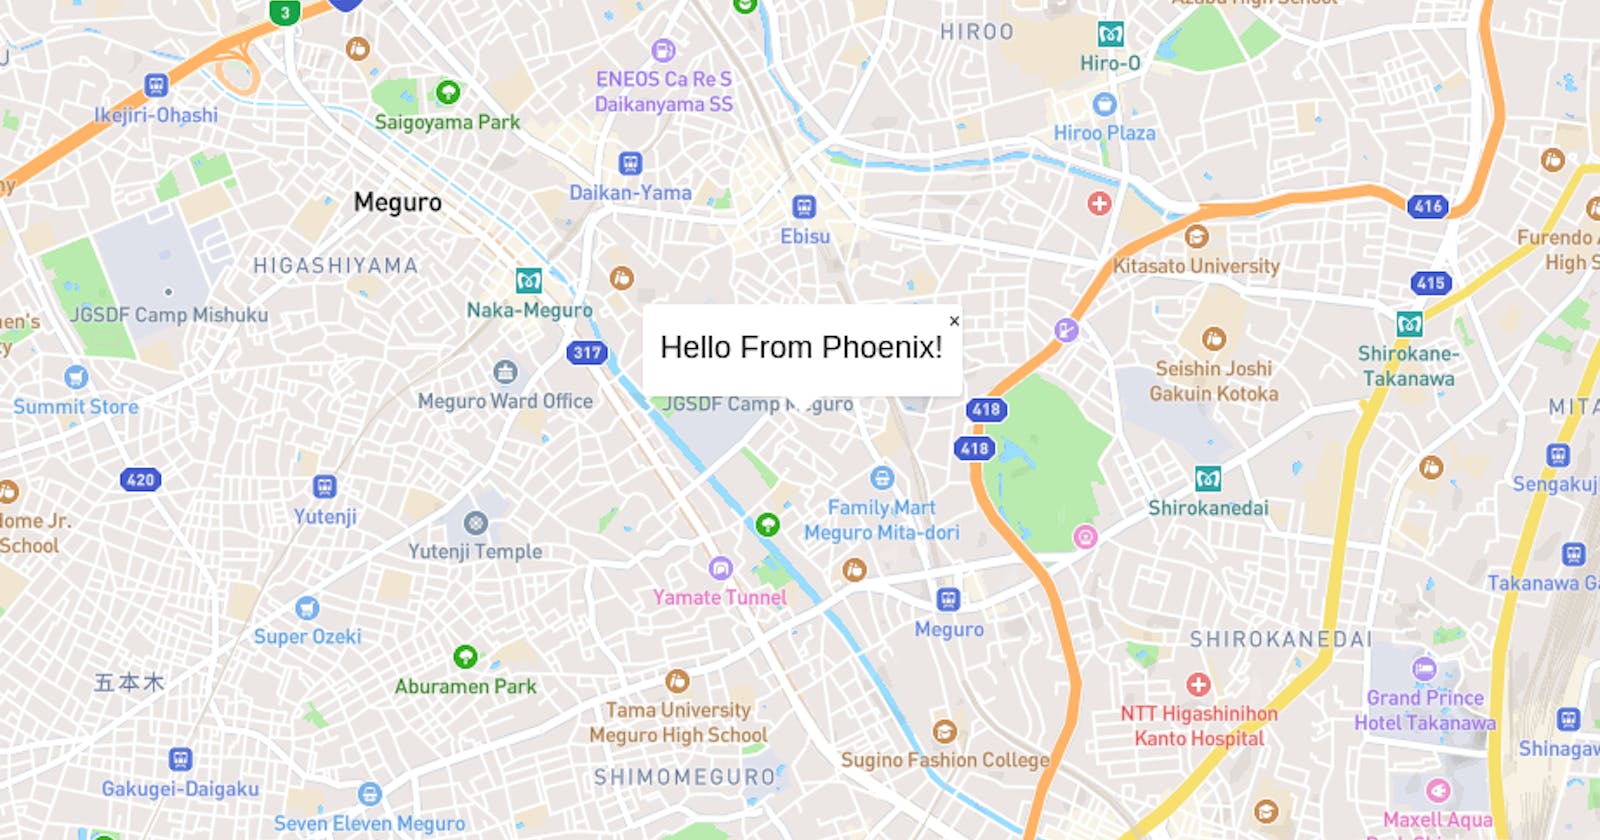
center: [139.71, 35.64], // starting position [lng, lat]
zoom: 12, // starting zoom
});
const popup = new mapboxgl.Popup({ closeOnClick: false })
.setLngLat([139.71, 35.64])
.setHTML('<h1 class="text-lg">Hello From Phoenix!</h1>')
.addTo(map);
// Add zoom and rotation controls to the map.
map.addControl(new mapboxgl.NavigationControl());
YOUR_ACCESS_TOKEN_HERE with your Mapbox access token.app.js, instead of a separate file like this, you must change the default Tailwind CSS output filename in config/config.exs . Otherwise, Tailwind will overwrite app.css and the Mapbox CSS will not be included.Then add map.js to the esbuild config in config/config.exs:
# config/config.exs

# Configure esbuild (the version is required)
config :esbuild,
  version: "0.17.11",
  default: [
    args:
      ~w(js/app.js js/map.js --bundle --target=es2017 --outdir=../priv/static/assets --external:/fonts/* --external:/images/*),
    cd: Path.expand("../assets", __DIR__),
    env: %{"NODE_PATH" => Path.expand("../deps", __DIR__)}
  ]
Finally, let's create a LiveView page to tie it all together:
Create a new LiveView controller, here's my lib/my_project_web/live/map_live.ex:
defmodule MyProjectWeb.MapLive do
  use MyProjectWeb, :live_view

  def mount(_params, _session, socket) do
    {:ok, socket}
  end
end
And lib/my_project_web/live/map_live.html.heex:
<link phx-track-static rel="stylesheet" href={~p"/assets/map.css"} />
<script defer phx-track-static type="text/javascript" src={~p"/assets/map.js"} />
<div id="map-container" class="h-screen" phx-update="ignore">
  <div id="map" class="h-full"></div>
</div>
phx-update="ignore" attribute on the map container div is useful for LiveView, but is not needed if this isn't being used in a LiveView. Without this, the LiveView DOM patching overwrites the changes that the MapBox JS has made to the DOM.Note that we load our map.css bundle here (which contains the Mapbox CSS). Notice that we can also use Tailwind CSS classes in our HTML and JavaScript!
Finally, add a line to the router where we can access the new route:
  # lib/my_project_web/router.ex

  scope "/", MyProjectWeb do
    pipe_through :browser

    get "/", PageController, :home
    live "/map", MapLive
  end
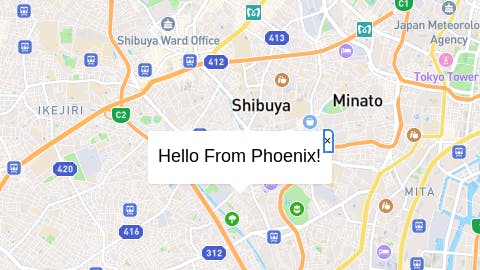
Result!
The complete code sample can be found on GitHub.
In Part 2, we explore how to receive events from Mapbox interactions in the Phoenix LiveView controller.